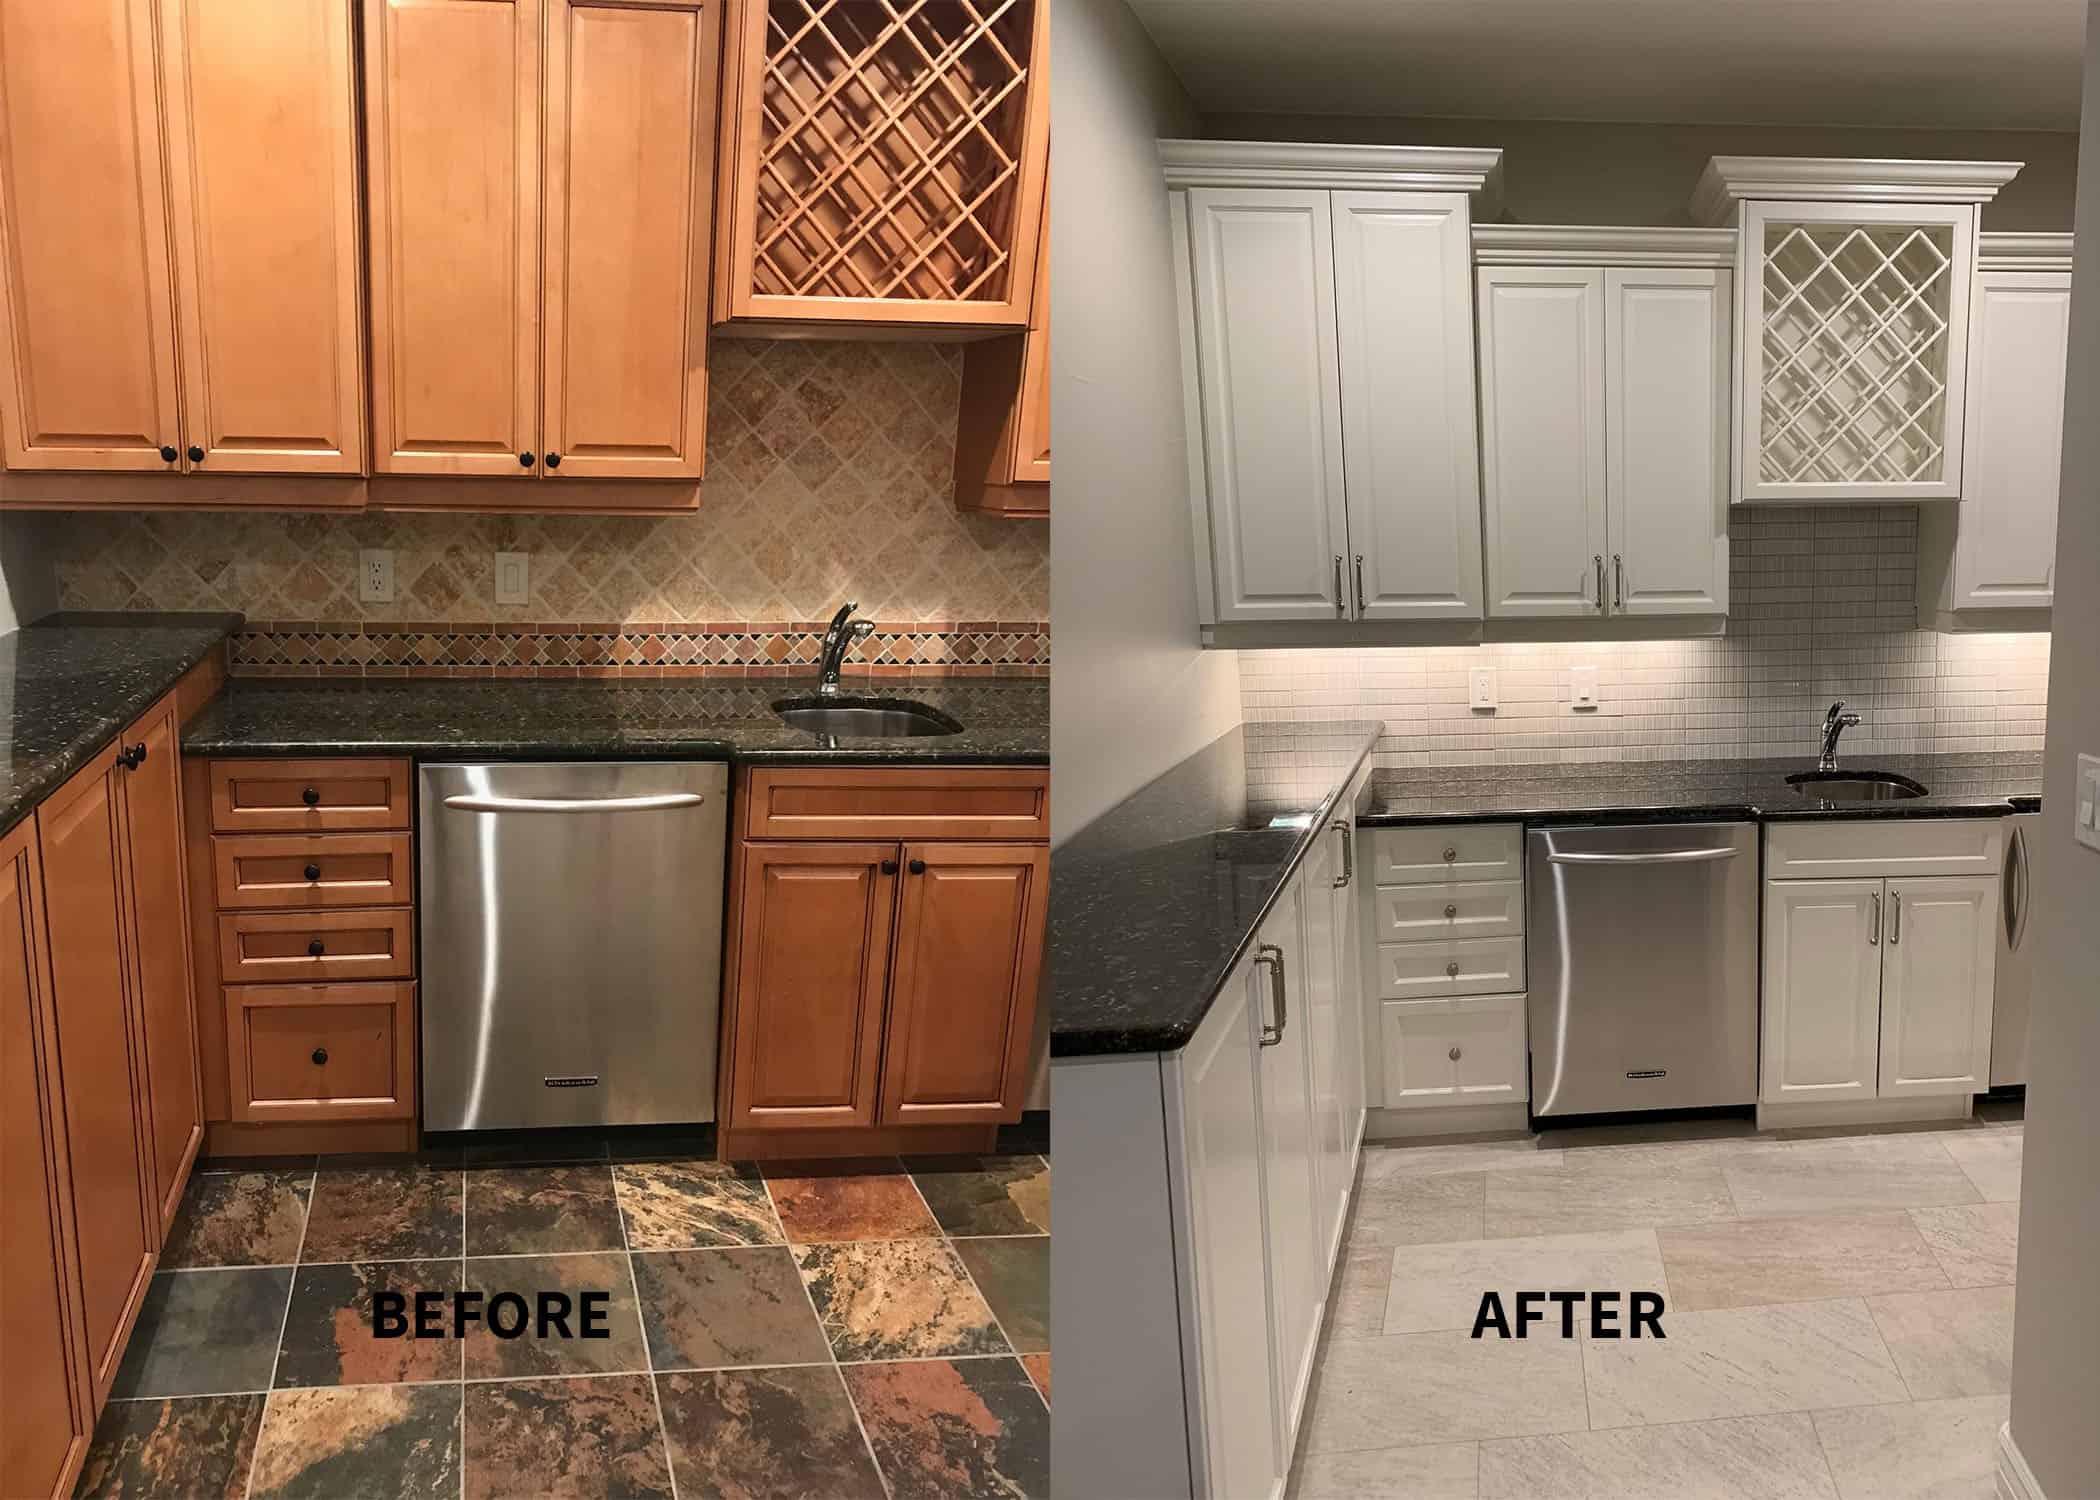
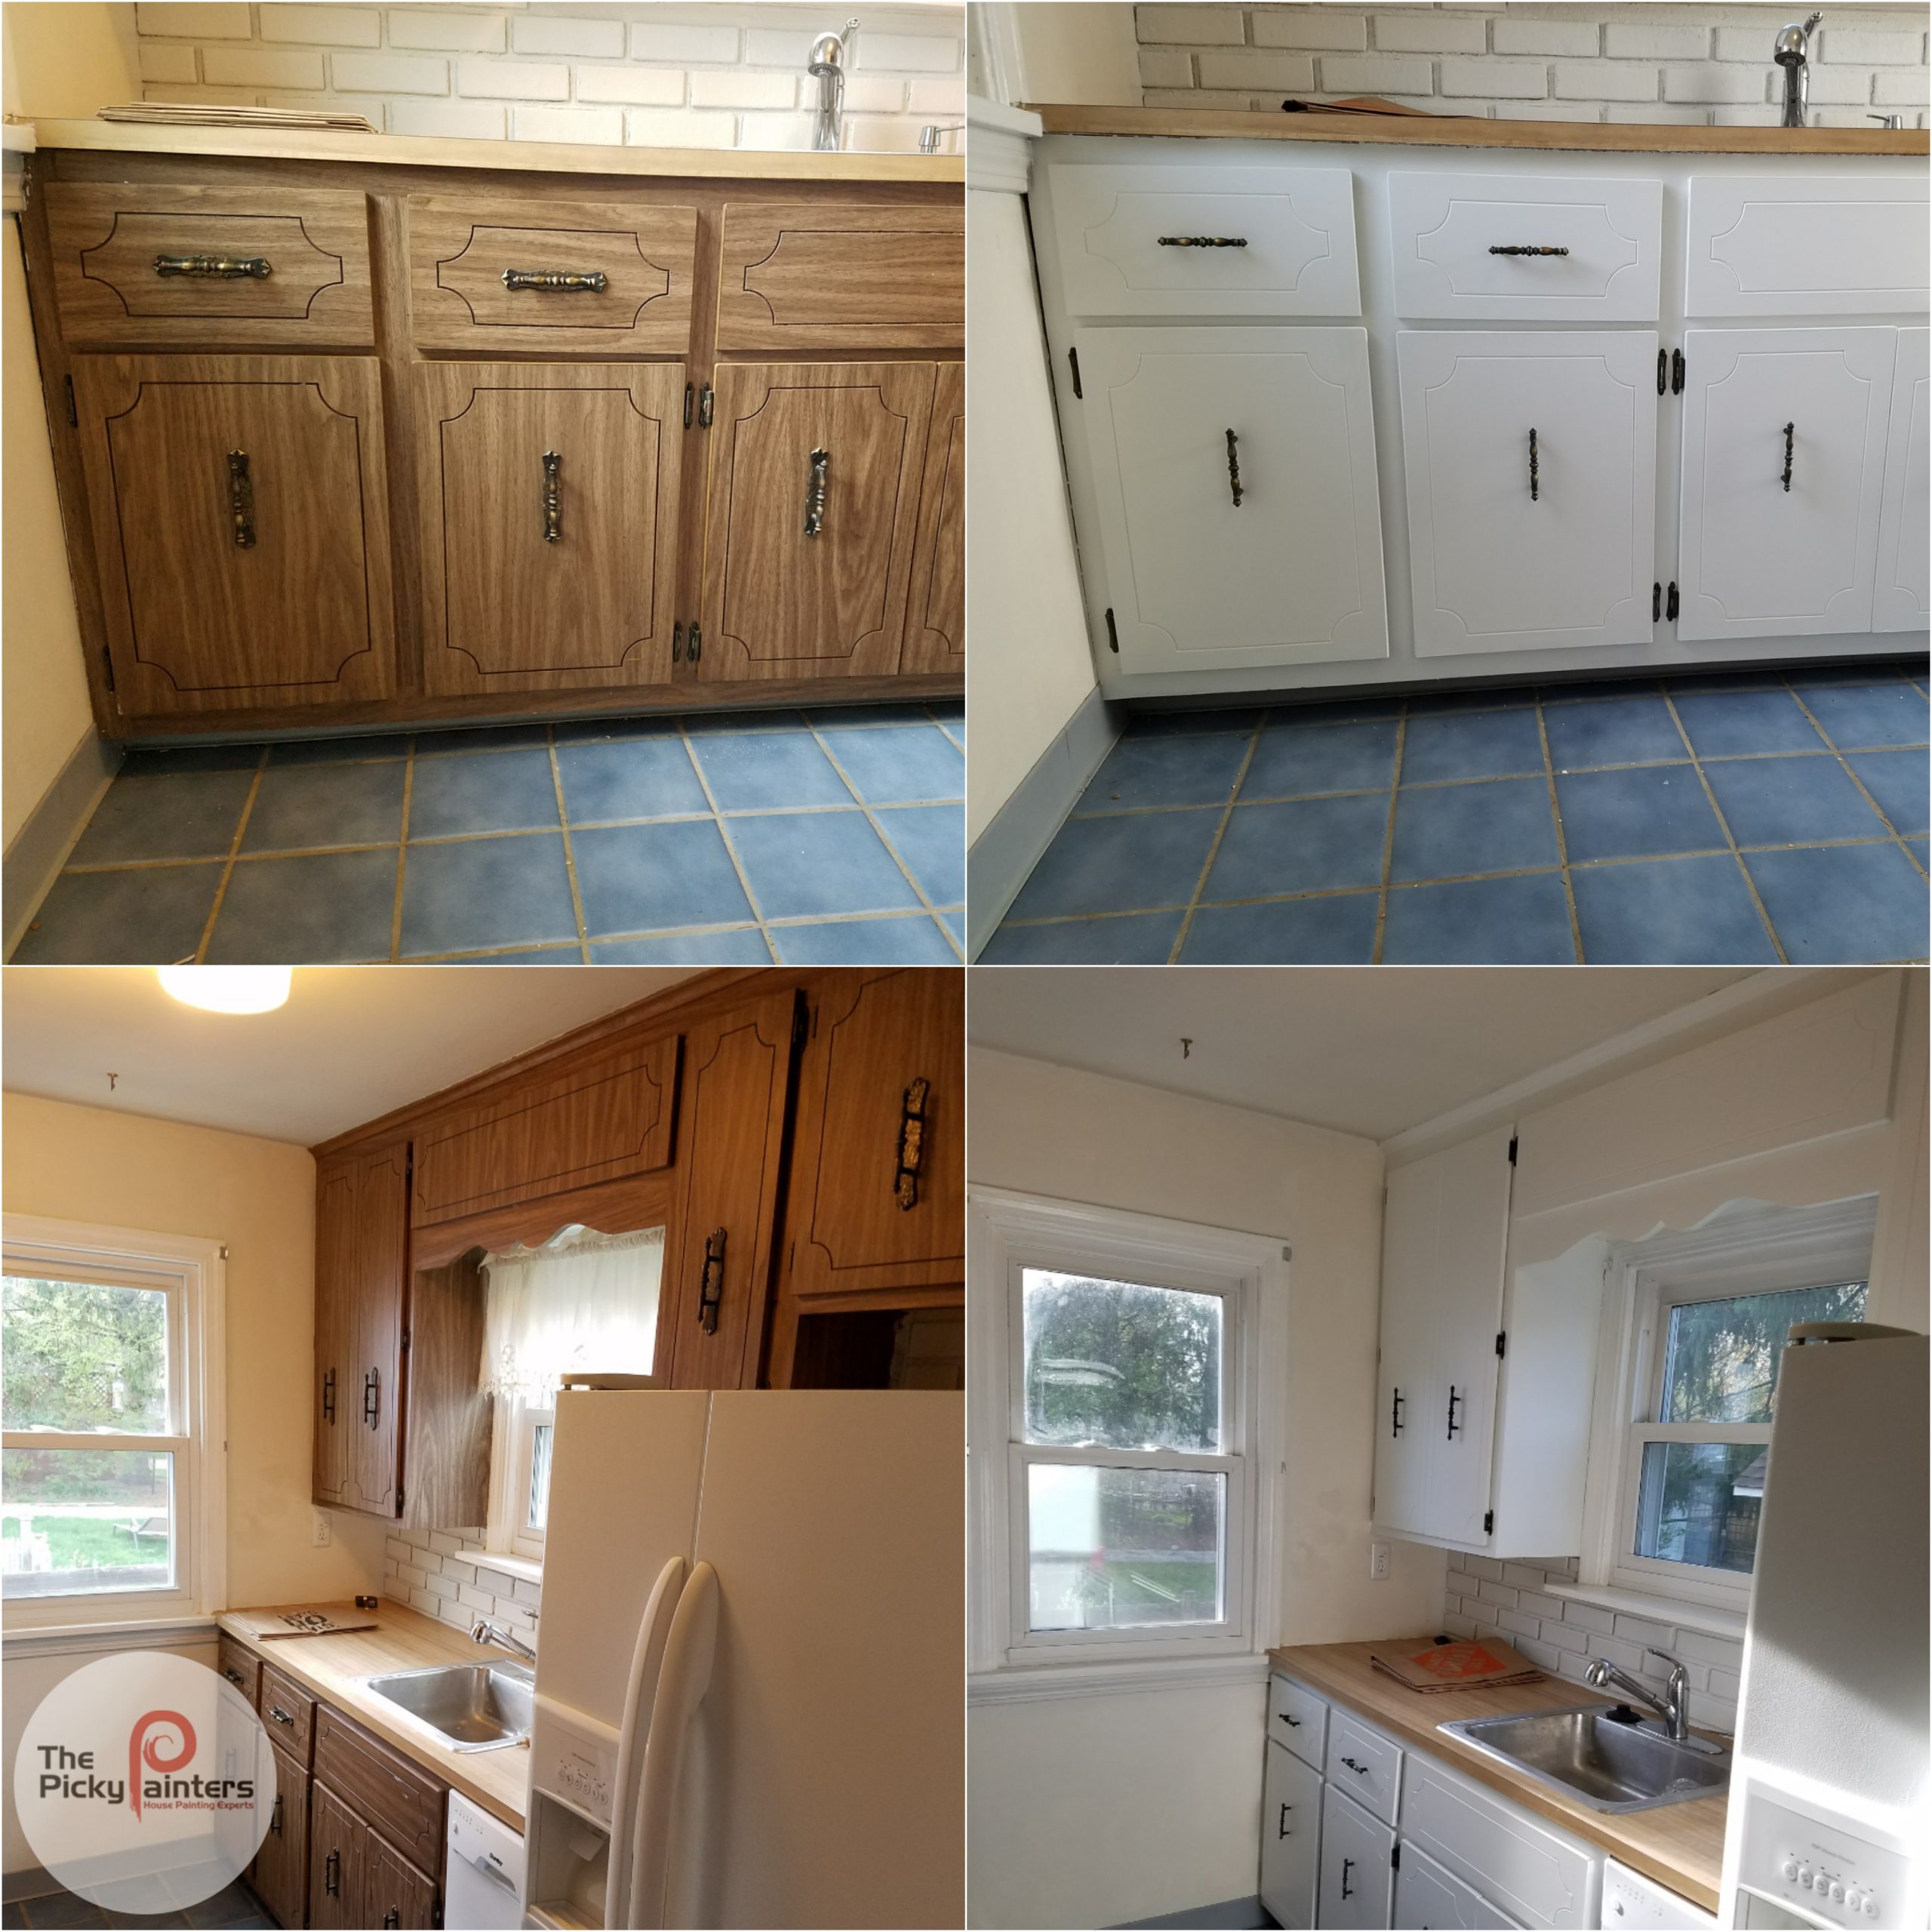
Preparation and Surface Assessment for Painting Laminate Cabinets: Painting Over Laminate Cabinets

Painting laminate cabinets requires meticulous preparation to ensure a durable and aesthetically pleasing finish. Failure to properly prepare the surface will result in paint adhesion problems, chipping, and an overall unsatisfactory outcome. This section details the crucial steps involved in assessing and prepping laminate surfaces for painting.
Cleaning and Surface Treatment, Painting over laminate cabinets
Thorough cleaning is paramount before any surface treatment. Begin by removing all grease, grime, and dust using a degreaser and a soft cloth or sponge. Pay close attention to areas prone to buildup, such as handles, knobs, and corners. After cleaning, allow the cabinets to dry completely. This ensures optimal adhesion of the primer and paint. Next, a light sanding with very fine-grit sandpaper (320-400 grit) may be beneficial to slightly roughen the surface and improve primer adhesion. However, avoid aggressive sanding, as it can damage the laminate. Finally, consider using a high-quality bonding primer specifically formulated for laminate surfaces. This creates a better bonding surface for the topcoat.
Damage Assessment and Repair
Before painting, carefully inspect the laminate surfaces for any damage, such as chips, scratches, or imperfections. Small chips and scratches can be filled using a high-quality wood filler designed for laminate surfaces. Apply the filler sparingly, ensuring it is level with the surrounding surface. Once dry, sand the filled areas smooth using fine-grit sandpaper. For larger imperfections or deep gouges, consider using a two-part epoxy filler, which offers superior strength and durability. Again, ensure a smooth finish by sanding after drying.
Primer Selection
Choosing the right primer is critical for successful laminate cabinet painting. Different primers offer varying levels of adhesion and durability. The following table compares some suitable options:
| Primer Type | Manufacturer | Key Features | Estimated Cost |
|---|---|---|---|
| Bonding Primer | KILZ | Excellent adhesion to various surfaces, including laminate. Blocks stains and odors. | $25-$40 per quart |
| Oil-Based Primer | Benjamin Moore | Provides a durable, smooth base for topcoats. Offers good stain blocking. | $30-$50 per quart |
| Acrylic-Latex Primer | Sherwin-Williams | Water-based, low-odor option. Good adhesion, but may require more coats. | $20-$35 per quart |
| Specialty Laminate Primer | Rust-Oleum | Specifically formulated for laminate surfaces. May offer superior adhesion compared to general-purpose primers. | $25-$45 per quart |
Note: Prices are estimates and may vary depending on retailer and location.
Surface Sanding Techniques
Proper sanding is essential for achieving a smooth, even surface before painting. However, excessive sanding can damage the laminate. Use a fine-grit sandpaper (320-400 grit) and sand lightly in the direction of the wood grain, if visible. Avoid using excessive pressure, which could cause scratches or gouges. Clean the surface thoroughly after sanding to remove all dust particles.
- Sanding tools and grits:
- Fine-grit sandpaper (320-400 grit): For initial smoothing and final finish.
- Sanding block: Provides even pressure and prevents scratches.
- Tack cloth: Removes sanding dust effectively.
Painting Techniques and Material Selection for Laminate Cabinets

Successfully painting laminate cabinets requires careful consideration of both the painting techniques employed and the materials selected. The choice of paint and the application method significantly impact the final result, determining durability, appearance, and longevity. Incorrect choices can lead to peeling, chipping, or an uneven finish.
Paint Type Comparison for Laminate Cabinets
Selecting the right paint is crucial for a durable and aesthetically pleasing finish on laminate cabinets. Different paint types offer varying advantages and disadvantages, influencing the overall project success. The following comparison highlights key considerations for each type.
- Acrylic Paint: Acrylic paints are water-based, making them easy to clean up with soap and water. They offer good adhesion and are relatively low in odor. However, they may require multiple coats for full coverage on laminate surfaces, and their durability can be less than that of other options, especially in high-traffic areas. They are a popular choice for their ease of use and affordability.
- Enamel Paint: Enamel paints, both oil-based and water-based, are known for their hardness and durability. Oil-based enamels provide a very hard, durable finish, but they have a strong odor and require solvents for cleanup. Water-based enamels offer a similar level of durability with reduced odor and easier cleanup, but may still require multiple coats. They are excellent choices for areas prone to wear and tear.
- Oil-Based Paint: Oil-based paints offer superior durability and a smooth, hard finish, ideal for high-traffic areas. However, they have a strong odor, require mineral spirits for cleanup, and take longer to dry than water-based alternatives. Their high durability makes them a good choice for areas subject to frequent contact or moisture.
Step-by-Step Guide for Painting Laminate Cabinets
Proper preparation and application techniques are essential for achieving a professional-looking finish on laminate cabinets. A methodical approach ensures even coverage and minimizes brush strokes.
- Thorough Cleaning: Begin by thoroughly cleaning the cabinet surfaces with a degreaser to remove any grease, dirt, or grime. Allow the cabinets to dry completely.
- Priming: Apply a high-quality bonding primer specifically designed for laminate surfaces. This step is critical for enhancing paint adhesion and preventing peeling. Allow the primer to dry completely according to the manufacturer’s instructions.
- Light Sanding (Optional): Lightly sand the primed surface with fine-grit sandpaper (220-grit) to create a slightly textured surface for better paint adhesion. Remove sanding dust with a tack cloth.
- First Coat Application: Apply the first coat of paint using long, even strokes, working in the direction of the wood grain (if visible). Avoid overloading the brush or roller to prevent drips and runs. Allow the paint to dry completely.
- Second and Subsequent Coats: Apply subsequent coats of paint, allowing each coat to dry completely before applying the next. Two to three coats are typically necessary for optimal coverage and durability.
- Final Inspection and Touch-Ups: Once the final coat is dry, inspect the cabinets for any imperfections and touch up as needed. A smooth, even finish should be the goal.
Tools and Materials for Painting Laminate Cabinets
Gathering the right tools and materials is essential for a smooth and efficient painting process. High-quality materials contribute significantly to the final result.
- Paint: Choose a high-quality acrylic, enamel, or oil-based paint suitable for laminate surfaces. Consider brands known for their durability and coverage, such as Benjamin Moore or Sherwin-Williams.
- Primer: Select a bonding primer specifically formulated for laminate surfaces. Kilz or Zinsser are reputable brands known for their adhesion properties.
- Brushes: Use high-quality brushes, such as Purdy or Wooster, in various sizes to reach different areas and corners. Angled brushes are useful for cutting in around edges.
- Roller: A high-quality roller with a smooth nap (e.g., 3/8-inch nap) will provide a smooth finish. Look for rollers from reputable brands like Purdy or Wooster.
- Paint Tray: A quality paint tray with a gridded liner will make paint application more efficient and reduce spills.
- Drop Cloths: Protect your floors and surrounding areas with heavy-duty drop cloths to prevent paint spills and splatters.
- Sandpaper: Fine-grit sandpaper (220-grit) is useful for light sanding between coats (optional).
- Tack Cloth: A tack cloth will remove dust and debris from surfaces before painting.
- Painter’s Tape (Optional): Use painter’s tape to mask off areas you don’t want to paint, such as hardware or adjacent surfaces.
- Safety Gear: Always wear safety glasses and a respirator when working with paints and primers.
Addressing Potential Issues and Long-Term Maintenance

Painting laminate cabinets offers a cost-effective way to update kitchen aesthetics, but success hinges on meticulous preparation and ongoing maintenance. Ignoring potential problems can lead to premature failure and necessitate costly repairs. Understanding common issues and implementing a proactive maintenance plan are crucial for preserving the beauty and longevity of your painted cabinets.
Troubleshooting Common Painting Problems
Addressing problems that arise after painting laminate cabinets requires a systematic approach. Identifying the root cause is key to implementing the correct solution. Ignoring small issues can lead to larger, more expensive problems down the line.
- Peeling Paint: Inadequate surface preparation is the most common culprit. Insufficient cleaning, sanding, or priming allows the paint to adhere poorly to the glossy laminate surface. Remediation often involves removing the peeling paint, thoroughly cleaning and sanding the surface again, applying a high-quality bonding primer, and repainting. In severe cases, complete stripping and repainting might be necessary.
- Chipping Paint: This often stems from insufficient curing time between coats, using a paint that’s not suitable for high-traffic areas, or impact damage. Repair involves careful removal of the chipped area, light sanding of the surrounding area, applying a suitable primer and touch-up paint, and then sealing with a clear coat for added protection.
- Uneven Finish: Uneven application, using rollers with inappropriate nap length, or failing to apply even coats can lead to an uneven finish. Solutions include sanding down imperfections, reapplying thin, even coats of paint, or using a high-quality spray system for a more consistent finish. Proper lighting during application helps identify uneven areas before they dry.
- Yellowing Paint: This can occur due to using low-quality paint or insufficient UV protection in the chosen paint. The use of a UV-resistant topcoat is critical in areas exposed to direct sunlight. Repainting with a higher-quality, UV-resistant paint is the solution.
Safety Precautions During Painting
Painting involves working with potentially harmful chemicals, so safety should be prioritized. Appropriate safety measures are crucial to protect your health and the surrounding environment.
- Ventilation: Always work in a well-ventilated area. Open windows and doors, or use exhaust fans to remove paint fumes. Consider using respirators for better protection, especially in poorly ventilated spaces.
- Protective Gear: Wear a respirator or mask to prevent inhaling paint fumes, safety glasses to protect your eyes from splashes, and gloves to protect your skin from contact with chemicals. Long sleeves and pants are recommended to minimize skin exposure.
- Proper Disposal: Dispose of paint cans and other waste materials according to local regulations. Never pour paint down the drain. Many municipalities have designated hazardous waste collection centers.
- Fire Safety: Keep flammable materials away from open flames or sparks. Paint thinners and other solvents are highly flammable. Ensure proper ventilation to prevent the buildup of flammable vapors.
Long-Term Maintenance Plan
A regular maintenance schedule helps preserve the painted finish and extend the life of your cabinets. Consistent attention to detail will prevent minor problems from escalating into major repairs.
- Regular Cleaning (Weekly): Wipe down cabinet surfaces with a damp, soft cloth. Avoid harsh abrasives or chemicals that could damage the paint. For stubborn stains, use a mild dish soap solution.
- Deep Cleaning (Quarterly): Use a slightly more thorough cleaning method, perhaps incorporating a gentle all-purpose cleaner, to remove any ingrained dirt or grime. Always test any cleaner on an inconspicuous area first.
- Touch-ups (As Needed): Address minor chips or scratches promptly to prevent them from worsening. Use a high-quality touch-up paint that matches the original color.
- Annual Inspection: Conduct a thorough visual inspection of all cabinets for any signs of damage, peeling, or discoloration. This proactive approach allows for early detection and timely repair, preventing more extensive damage.
